Available Now: Volaertus.com
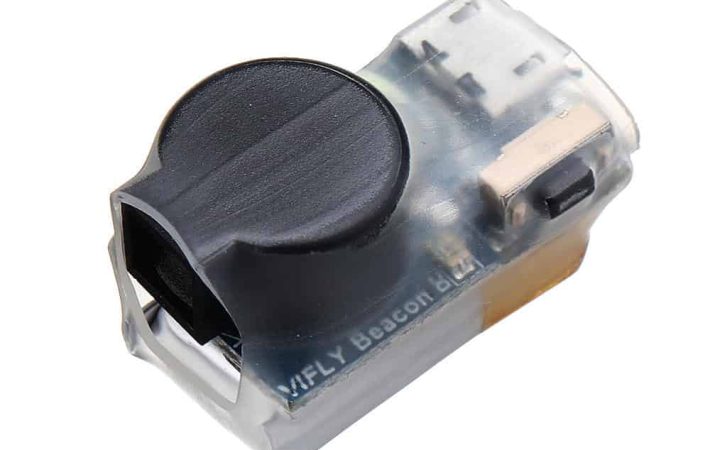
The VIFLY ShortSaver 2 is available at volaertus.com (click here to go to the product page). You can pick this device up for $14.99 from our store, we ship Monday through Saturday from Texas and orders over $65 ship for free!
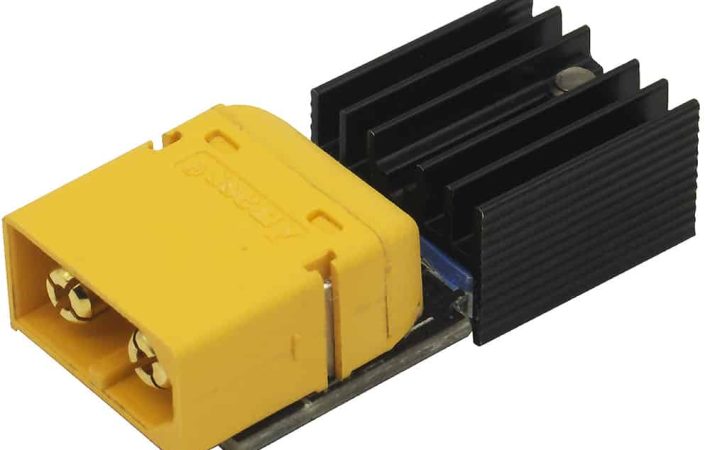
The VIFLY ShortSaver 2 is a smoke stopper designed to prevent short-circuits, current overflows, and other electrical problems that can lead to the destruction of your FPV Drone components. It comes with various intelligent settings which allow customization of the sensitivity and amperage thresholds. This smoke stopper is equipped with electrical fuses allowing you to use it indefinitely without the risk of destroying the device itself.
When you utilize a smoke stopper like the VIFLY ShortSaver 2, you are putting a level of safety or insurance between your battery and FPV Drone components. This simple and cheap tool can save you hundreds of dollars in just one instance of proper use by preventing your FPV Drone electronics from getting destroyed.
What Is A Smoke Stopper?

A smoke stopper is a device which allows you to connect your FPV Drone batteries without the risk of frying your electronics due to a short or misconfiguration. The VIFLY ShortSaver 2 is a smoke stopper that can very quickly detect if something is wrong with the flow of current in your drone or if there is a short or any problem that is causing more current to flow through the system than normal. If something is wrong, the smoke stopper cuts off the flow of current from the battery to the system and prevents the battery from destroying your valuable electronics.
If you want to purchase your very own, check it out at our store here: https://volaertus.com/shop/accessories/short-saver-2/
How Does A Smoke Stopper Work?
When you connect a source of power to your electronic device, in this case an FPV Drone, current begins to flow from the battery into your drone. If too much current (amps) flows through, or if it flows in the wrong direction (reverse polarity) your electronics can suffer significant damage and start producing smoke and a burned smell.
A smoke stopper works by sensing how much current is flowing, if it’s flowing in the wrong direction, if too much current is flowing, and by ultimately stopping the flow of current. When you connect a battery to your FPV Drone without a smoke stopper you risk frying your electronics if something was soldered incorrectly or shorted. When you connect a battery to your FPV Drone with a smoke stopper between the two, you have a safety device or mechanism which will stop the flow of current from the battery to your ESC, flight controller, motors, VTX, and other accessories. With the smoke stopper, your chances of destroying your drone are drastically reduced because it will stop the current from flowing if something is wrong.
Why Do You Need A ShortSaver or Smoke Stopper?
FPV drone parts are far from cheap, and making a simple mistake like bridging two solder joints or soldering some wires backwards can be a brutal and expensive learning experience for new FPV Drone pilots. When you use the VIFLY ShortSaver 2, you can rest assured knowing that your FPV Drone won’t get fried as soon as the battery is connected if you did something wrong during the build or troubleshooting process.
Having a smoke stopper, in this case the VIFLY ShortSaver 2, helps you avoid burning, frying, and/or shorting your expensive FPV Drone equipment. This tool costs less than your average FPV Drone battery, and it can save you hundreds upon hundreds of dollars in just one time if it prevents your ESC, FC, VTX, or other components from getting burned and fried.
You can think of the ShortSaver2 as really cheap insurance that you pay for once and use for years and years. You will always have it at your disposal and it should definitely be part of your tool kit that you carry with you when you go bando bashing or long distance flying or really anything to do with FPV especially freestyle and racing where crashes are more common.
2 Amp vs 1 Amp Setting For The VIFLY ShortSaver2

When you plug your battery into your drone, there is current (amps) that is flowing from the battery to your drone. The amount of current should be very small, in this case 1 or 2 amps. This current would be used to power up the lights, flight controller, boot the system up, and establish connectivity to the radio and begin sending video feed out to the receiving equipment (goggles).
The bigger the drone, the higher the number of amps it will consume even if it just sits there, and because of this the VIFLY ShortSaver 2 comes with a couple of options for you to choose from.
The best strategy would be to choose the 1 amp setting and try turning your drone on to test if it will trip the fail safe system in the VIFLY Short Saver 2. If this happens, go over your drone and make sure nothing is wrong with it from what you can visually inspect.
Once you give your drone a quick inspection, flip the switch to 2 amps and try it again. If your drone beeps and boots up as normal, you know your drone uses more than 1 amp when it is plugged in but not armed.
Now you are set to use the VIFLY ShortSaver 2. Whenever you add or replace any new components, you can test if you did it correctly by putting the ShortSaver2 between your drone and battery to act as a safety mechanism. If you plug your drone in and the ShortSaver 2 does not allow it to boot up fully, there could be a short or bridged solder joint somewhere in your work so it’s a great idea to go back and check out your work for mistakes.
Reverse Polarity Protection
Reverse polarity is when you connect wires in reverse. For example, you connect the negative to the positive cables instead of negative to negative. If you do this, you can easily fry your electronic components on your FPV Drone and that is why the VIFLY ShortSaver 2 is a fantastic tool at protecting your valuable build from this mistake as well.
Having the ability to detect reverse polarity, the VIFLY ShortSaver 2 can quickly switch off current from flowing through your drone in the wrong way. If the ShortSaver2 system is tripped, you can simply unplug your battery and conduct an inspection on your drone to find the fault. If you connect a battery to your FPV Drone without the ShortSaver 2, you can risk burning your FPV Drone components faster than you could possibly realize what would have happened. The time it takes to fry your components is so small, measure in milliseconds, that it is practically instant or immediate for all intents and purposes.
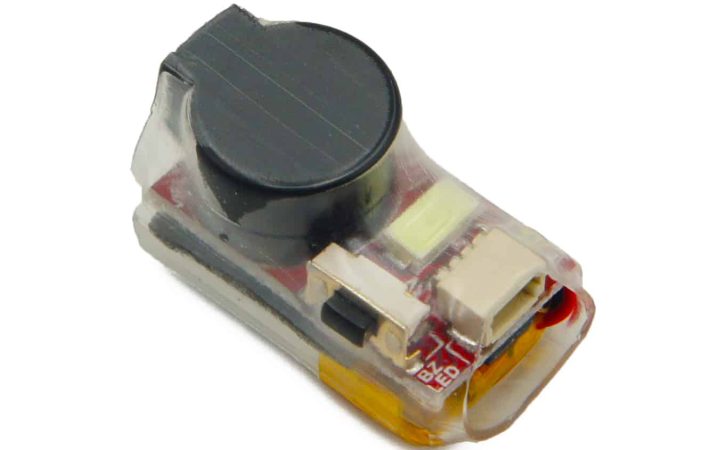
What Do The LEDs Mean On The VIFLY ShortSaver 2
Green LED

The green LED indicates whether the power is on or not. When you connect the VIFLY ShortSaver 2 to your drone, you have to press the ON/OFF button to see this light. You will either see a green or Red LED. Green means your drone powered on successfully and no short-circuits or over-current situations were identified
Red LED

The red LED is one you do not want to see. This LED indicates that the ShortSaver 2 has identified either a short or over-current in your FPV Drone. You can try booting up your drone again by pressing the ON/OFF button, but if this light keeps coming back you definitely have something wrong with your drone OR your drone is tripping the amps threshold (1 or 2 amp) which means it is using more amps than what the VIFLY ShortSaver 2 threshold allows before tripping.
Blue LED

The Blue LED indicates which current threshold you are currently in. There are two options: 1A and 2A which translate to 1 amp or 2 amps. The bigger your drone, the higher the number of amps it will pull to power up and stay powered on. If your ShortSaver 2 is giving you a red LED, it means that there is a short-circuit or over-current situation. An over-current situation does not always have to be bad in the case of the ShortSaver 2, it could potentially be a problem of your drone being too big for both the 1 amp and 2 amp threshold.
Yellow LED

The yellow LED uses blinks to indicate which setting it is currently in for the response time to prevent either a short-circuit or over-current.
1 blink from the yellow LED means the ShortSaver 2 will respond within 3ms for a short-circuit and 15ms for an over-current situation. 2 blinks indicates the ShortSaver 2 will respond within 5ms for a short-circuit and 20ms for an over-current situation. 3 blinks indicates the ShortSaver 2 will respond within 7ms for a short-circuit and 30ms for an over-current situation.
On/Off switch

The VIFLY Short Saver 2 comes with an ON/OFF switch. This might not seem very important, but there are FPV Drone receivers out there which require you to hold down the bind button while you power on the drone. This is a horrible series of steps because humans only have 2 hands and connecting an XT-60 connector from the battery to the drone is no easy feat with one hand.
Instead of fighting with your receiver or asking for help from the nearest human, you can connect your battery to one end of the ShortSaver 2 and your drone to the other. Hold down the bind button on the receiver, and press the ON/OFF switch on the VIFLY ShortSaver 2.
Having this button makes it very easy to troubleshoot your drone as well because you don’t have to connect and disconnect the battery over and over again, you can simply press the ON/OFF button as many times as you need.
Final Notes
The VIFLY ShortSaver 2 is a fantastic tool to have in your FPV Drone tool kit, but it is not a magical solution to all of your troubleshooting needs. While it can save you from shorting your components, the evil magic smoke, and delivering more current than necessary to your FPV components, it is not a deep troubleshooting tool like what you get in a multimeter. You can measure continuity with a multimeter, proper voltage going to different components of your drone, and many other things that the ShortSaver 2 cannot do. The ShortSaver 2 is a must-have, but each tool has a job and this tool’s job is to save you money by preventing costly mistakes that are easy to overlook.
If you want to purchase your very own, check it out at our store here: https://volaertus.com/shop/accessories/short-saver-2/